Wednesday, October 17, 2012

Shabby to Chic Frames

 A few years ago, my sweet niece decided to hold an "art show" at her house.  She had drawn or colored pictures in a wide variety of subjects for us all to view and purchase.  The proceeds of this art show were donated to the Ronald McDonald House charity.  Told you she was sweet.  Although everything was adorable, I came home with these little crayon fish in plain white frames and they have lived on the counter in my master bathroom ever since.
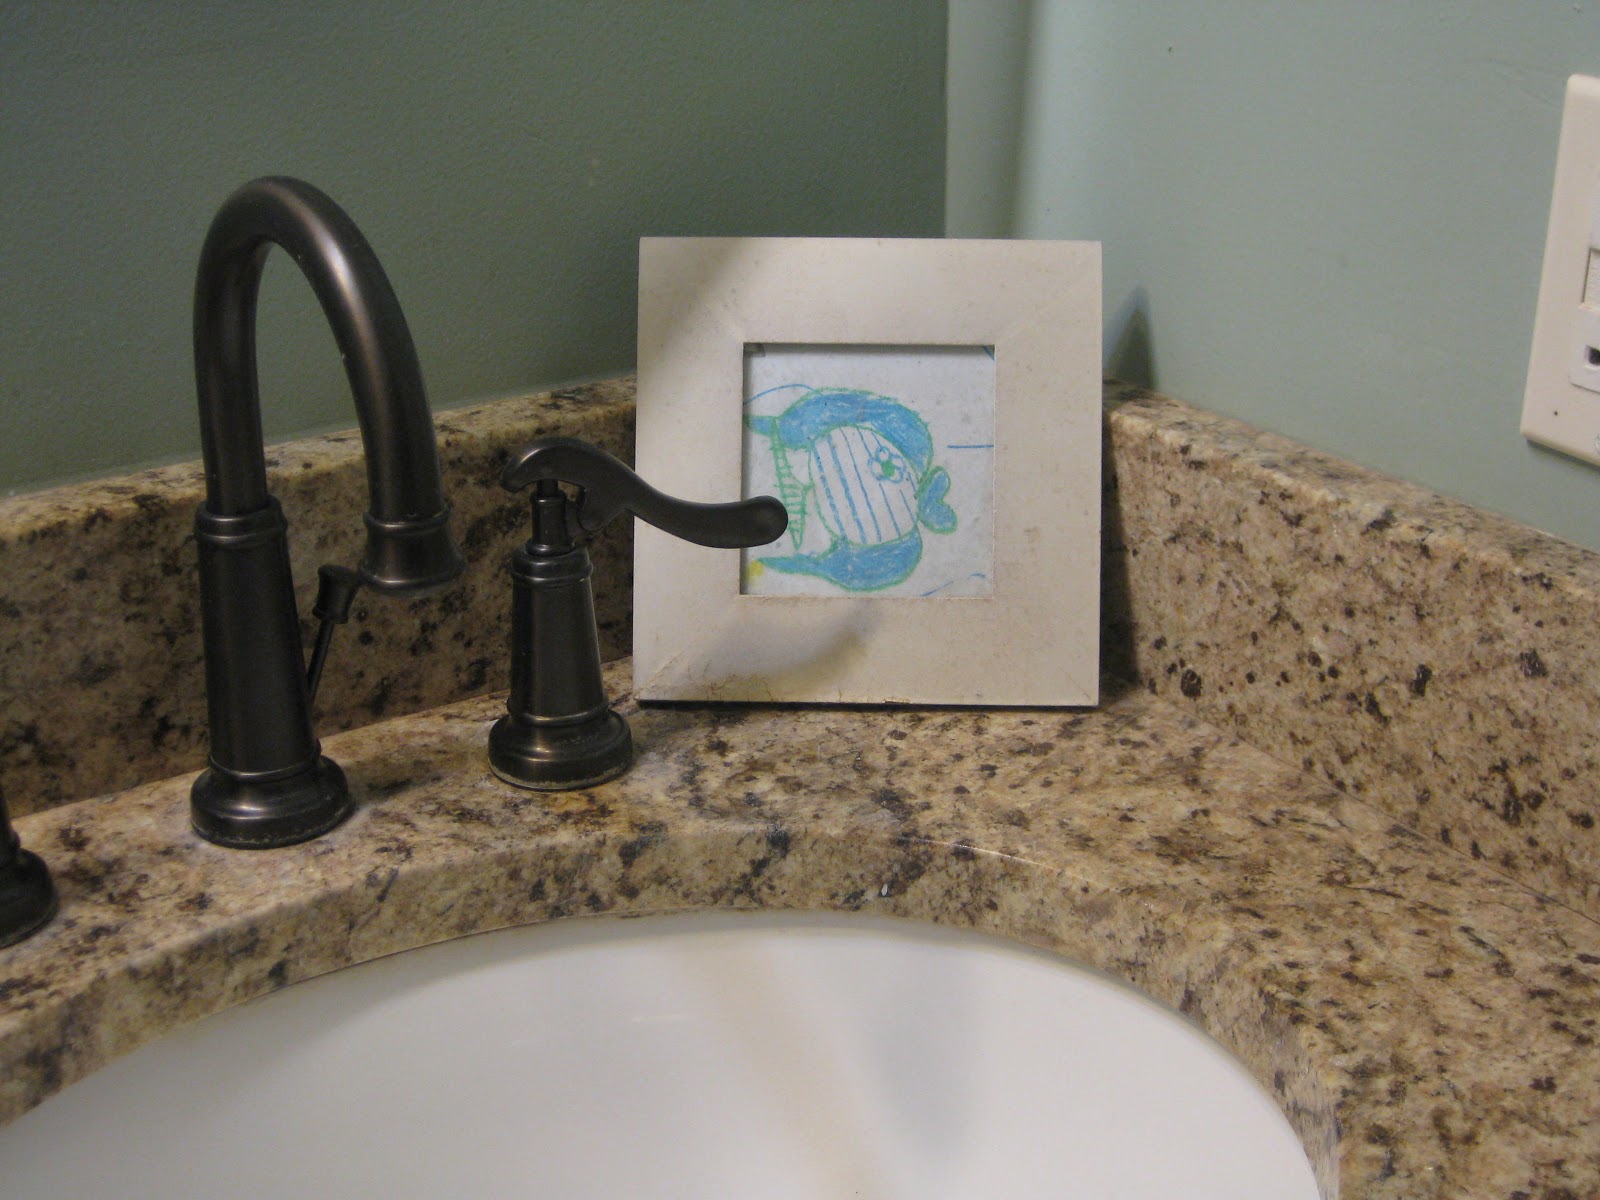

The frames were not of high quality and being next to my sink, they got splashed a little and the frames were starting to look gross.  So I decided they needed a little makeover (after probably 4 years in this state).


First, I removed the art and cleaned the glass really well and set them aside.  I dug out some random paint samples that I had in my laundry room closet and got to work.  These are the samples I used to determine what color to paint my bathroom.  The color is Sherwin Williams Quietude.  I put on a few coats with a sponge brush and while they dried, I went to the hardware store to find some tile.


I ended up at Home Depot (because I had a gift card) and found the most beautiful, perfectly colored mosaic tiles!  They came in a 3" by 12" sheet with a mesh backing.  After a thorough search of their website, I came up empty on finding a link.  Sorry! They are shades of blue, cream and brown and have curved tops (not flat like most tile). Absolutely beautiful! Anyway, I cut them apart and started playing with the best way to arrange them on the frame.  The square frame was by far the easiest.


 But me being me, I didn't want to be able to see the mest between the tiles (I wasn't planning to grout these).  So I cut each individual tile apart - that's why you see all those little white things in the left side of that pictures.  Took FOREVER!  But I finally got them glued down and when it dried I put the glass and art back in. Oh, and I used regular Alene's craft glue for the tiles.  Your picture frame now weighs about 3x as much as when you started.


The second frame's layout was a bit tougher because nothing was equal.  I wanted the frames to look similar with the tile spacing, but just couldn't find a way to do it equally.  So I just tiled the frame as if I was going to set it vertically instead of horizontal.  I do plan to change out the artwork one day, so this frame will just get turned the other way.  For now it works.


A simple project that only took a few hours to do.  The paint and tile made the sad, white, DollarTree frames looks like they came from a department store.  The tile cost about $4 a sheet and I had to purchase 2 to complete my frames.  So even if you had to go out and buy some frames, you could do this for around $10 yourself.  Go glue some tile!  Make something pretty!  =)

Monday, October 15, 2012

I like BIG BOOKS tote

I got invited to a 30th birthday for a friend.  She's a relatively new friend and is actually the life-long best friend of one of my high school best friends.  Does that make sense?  Anywho, I couldn't show up empty handed and since I know she likes to read I whipped up this little book bag for her.


It was super easy.  I had the canvas bag left over in my craft closet (from Hobby Lobby).  I also had some random iron on transfers in my office (not sure how long those have been there).  They were Avery Ink Jet T-shirt Transfers.  I typed everything out in Word and printed it on the transfers, cut it out and ironed it on.  To make it a little cuter I added the books in the corner. 


To "wrap" it, I simply rolled the bag and tied it closed with a piece of leftover ribbon.  I cut a J (for Jessica) out of scrapbook paper, punched a hole in it and strung it on the ribbon before tying the ribbon.

That's it!  Super easy project that you can customize for any person or gift giving need.  Thanks for stopping by!

Monday, June 4, 2012

Catching Up...

So yeah, it's been a while since I have posted anything.  I apologize for that. 

Shortly after my last post, I broke my foot and was in a walking boot for 7 weeks.  So not fun!  I think the post about the old lady shoes jinxed me or something.  How did I break my foot you ask?  Well, I was using the wand on my vacuum cleaner and while it was stretched out, the rest of the vacuum tipped over and landed on top of my foot.  Apparently it hit just right and caused a tiny fracture (and I mean tiny...the x-rays had to be blown up huge to see it) in what I guess would be the bone of my 4th toe.  It didn't hurt that much when it fell, but after 2 weeks of walking on it, I figured I should have it checked out. So that was my first experience with a walking boot. Hope it is my last!  But at least I got it off before summer because I can't imagine walking around with that thing on in 90 degree weather. *Shudders*

This post is just to let you all know I am still alive even though I haven't posted in about 5 months.  =)  I have been taking lots of pictures & have a list of things to blog about, it's just having the self-control to make myself sit down and write them out.  I've decided to just upload some pictures for now as a teaser for all the posts to come.  Enjoy and be on the look-out for my new projects!  Thanks!


Saturday, January 7, 2012

Total Failure!

Last year, I wrote this post about my goals for 2011.  It was kind of depressing to read that post again.  There was so much optimism and excitement for the year ahead.  Well, I'm sad to say that none of those goals were completed.  Yep, I failed at every single one of them.

It's been another rough year for me.  Let me take that back, the last 6 months were rough...the first 6 were pretty good!  I met my wonderful boyfriend, starting playing Bunco and met some awesome people, went on an awesome vacation with family from Kansas that I don't see that often, and was just overall very positive.  In June, I even found a new job in cabinet design and I was over the moon.  I was really excited about my life changing for the better.

And then August happened.  The new cabinet job I had taken ended abruptly and not on very good terms.  So all of a sudden after 5 or 6 weeks of super excitedness, everything just came crashing down.  Luckily, one of our suppliers asked me to come work with one of their guys to help design and sell cabinets from a warehouse in Nashville.  I agreed, but was nervous because this was a commission based job.  I hadn't ever been paid like that before and I was worried because I do have a mortgage that has to get paid.  So, I worked there for a month or two, but the owners didn't know how to communicate with each other and it also turned out to be not such a good thing.  In the midst of all this, I am still trying to get my last paycheck from the first "bad" job.  They were bouncing checks left and right and it was pretty stressful.  Finally, after 8 weeks and discussions with the state wage and labor board it was all finished.  Not something I'd like to experience again.

So, I've pretty much been jobless since August.  It's been more than depressing and stressful and my finances are a mess.  I feel like I've slipped back into that sad, depressed person that I was when I was going through my divorce.  When will I pull myself out of this?  Some days I feel like I don't even have the effort...other days I'm applying for jobs like crazy.  I just want to be a productive member of society and have a happy little life (or mostly happy...I'll take mostly).  I feel like it should be my turn soon.

All that being said, I don't haven't really made any goals for 2012.  Just to find a job and get myself back on my feet.  I'll still work on blogging, and organizing and maybe even take that cake decorating class someday.  In the meantime, I've updated the design to bring some cheer into my life.  I have a small obsession with chairs, and I thought this was super cute.

I'll leave you with an inspiration quote I came upon on Pinterest just a few moments ago:

"What a wonderful thought it is that some of the best days of our lives haven't happend yet". - unknown

Friday, January 6, 2012

I'm Officially Old

I came to this realization yesterday...I am old.  I know you are all just dying to know what happend to make me realize this.  Well, here it goes....


I chose flat, comfortable shoes over cute heels that looked better with my outfit.


Ugh, it hurts to even think about it.  It's all downhill from here.  =)

Are these next?


*shudders*

Wednesday, October 12, 2011

My 10 Year Reunion (super long...beware!)

Well, it has come and gone...the big high school reunion.  We had it on Friday, Sept 23rd and Saturday Sept 24th.  There were about 30 something people who showed up and I think everyone had a really great time.  My friend Megan put together a slide show that played continuously throughout the evening and she and I put together some fun music from 1997 through 2001 (our high school years).

Since there aren't many ideas on the web about decorations for high school reunions, I thought I'd share what I came up with and hopefully help others out.  As I mentioned in my previous post, there was not a lot of money for decorations and fru-fru things.  Total bummer for me, but I was happy with how it all turned out. 

Let's start at the entrance!


I made paper bag luminaries to line the walkway entrance.  I went to my old school and used the die cuts from the teacher workroom to cut out eagle silhouettes from black construction paper.  I already had the paper bags and the black construction paper so this was a no-cost project!   The candles used on the inside were left over from my cousin's wedding a few years ago. 

Here is what they looked like when it got darker.


For the front steps I made some maroon, white and gray bows to put on the hand rails.  And for the doors I made hangings from old picture frames.


Basically I took the glass out of two old matching picture frames that were laying in my mom's garage and spray painted them silver.  I got the wooden "E"s from Hobby Lobby for 99 cents.  I bought a 99 cent bottle of maroon craft paint and painted them.  Then I took a black permanent marker around the edges to give it some dimension.  I used a hot glue gun to attach fishing line to both the E and the frame.  A bow looped around makes everything hang pretty!  Oh, and a nice little clear Command hook held everything up.  I used 1 huge roll of maroon ribbon for the bows and door decorations and I got it half off at $7.00 or something like that.  Total cost for outside decorations: around $10.00

Once through the doors, my classmates got to see a table of some high school memories.

I borrowed the pom-poms and megaphone from my niece (who attends my old school) and everything else was stored somewhere in either my mom's house or mine.  I had our class picture matted and framed back when we graduated and I was glad we had it to display.

I used the same silver spray paint to paint the glass vase in the right hand corner.  I've never spraypainted glass, but it was actually pretty easy and didn't have any problems.  I used the same silver paint along with some primer gray and white spray paint I had laying around the house to add some color to the curly willow (also left over from a friend's wedding).  Painted a few more with the maroon craft paint and that was that.  Total cost for the entry table - $8 for a roll of maroon table cloth (which I used elsewhere) and $6 for the gray table skirt...$14.00!


Then there were the food tables.


Since there were so few of us, we just had finger foods and a cake.  We might try a dinner next time.  I used the maroon tablecloth sheeting again for both tables and another skirt for the food table.  I made the banner over the table using posterboard, ribbon, and more diecuts from the school.  The gray posterboard was $1.00 at the Parent/Teacher store and the white was .50 at Dollar Tree.  I used exactly 1 roll of gray ribbon, also found at Dollar Tree and maroon curling ribbon my mom had laying around.  I cut the letters and eagles from scrapbook paper I already owned making this another inexpensive project at $2.50!  The cake table didn't cost anything b/c the pom-poms were in my mom's upstairs playroom.

And finally, the centerpieces.  I thought they turned out pretty cute, but then again, I made them all so I'm probably a little partial.  =)


They were all different.  I used more die cutouts and scrapbook stickers to make the toppers.  The toppers were hot glued to kabob skewers that I painted with my maroon craft paint.  I stuck them in a small square of foam to keep them upright.  The vases are from my mom's house.  She has about 15 of them that she purchased from my cousin after her wedding.  We use these vases for EVERYTHING!  I had planned to use maroon and gray tissue paper inside them, but it's almost impossible to find maroon tissue paper.  So, I stumbled up on the solid silver/gray and white with silver starts at Dollar Tree.  Each package had 3 solid silver, 3 stars and 2 white sheets.  So I was able to do 3 tables for $1.00 (I didn't use the white sheets).  On some I did the silver on the inside with the stars on the outside.  I had 10 tables so it cost me $4.00 in tissue paper and the table cloths were about $3 each (I think).  So for less than $35 we had all the tables decorated.

There were also some outdoor tables, but I didn't take a picture of those centerpieces.  I basically used 3 different size mason jars filled with white aquarium rocks (again borrowed from my mother).  I use the maroon curling ribbon to tie a bow around each one and set a maroon tealight inside each jar.  We got a bag of 25 tealights at Michael's for $2.50 (reg $5 but we had a 50% coupon).  All 8 outside tables done for $2.50.


So that's that.  My reunion decorations on a budget.  Here are all my classmates who attended.


And me with my two besties: Kristi and Megan (L-R)


I didn't really decorate for family day b/c everyone was playing on the playground anyway.  But here are all the kids that showed up with their parents.  They are all soo cute!


Friday, September 2, 2011

Reunion

I've had a little time on my hands recently, so I've been in "Reunion Mode."  As I mentioned before, my 10 year high school reunion is coming up and as president of my senior class, the task of planning falls to me. Yipee!

No really, I am excited about it.  I should rephrase that, I am excited about planning it.  Still in total denial that it's been 10 years and that the big 3-0 is just around the corner.  Total denial.  =)

Anywho.  The venue has been selected for our Friday night activity and we are having a family day on Saturday morning.  Saturday is easy - I told everyone to bring their own food, chairs and games.  Done!  Friday night is a little more difficult.  Maybe it's because I'm a perfectionist or I always like things to look expensive...or maybe I just want everyone's approval when they walk in the door.  It's probably a combination of all three. =)

Since there are so few of us in my graduating class (56 to be exact) and we are low on funds (i.e. BROKE), I decided to send evites.  Most of  my classmates are on Facebook, so that made tracking them down much easier.  Of course I would've loved to have sent out beautiful, expensive invitations with lined envelopes, but those cost money!  I went on over to the trusty evite.com site to try and find something that fit my needs.  After looking and looking, I just wasn't thrilled with anything. So I googled "electronic invites" and my new favorite site EVER popped up....Punchbowl.com

This site makes me happy!  You can send out save-the-dates as well as invitations.  It can help you plan the whole party with vendors and everything.  My favorite part was the actual invitations.  Most are free and if you pay a small fee you can get the "*Plus" designs.  The part I liked was that even the free ones are really nice.  I didn't feel like I had to upgrade to get the cuter designs.  Once you pick your stationary, you can change the font colors, the color of your envelope lining (yay! I got my fancy lined envelopes), and you can even pick the stamp that goes on the front.  Super cute and very personal. When you get the email, you see the front of the envelope, it flips over, out comes the invite and all the details.  Here are some of the ones they have for picnic/cookout in honor of Labor Day Weekend.  I LOVE the watermelon one!


So that part was fun.  I've also selected the table linens (which happen to be plastic - once again, broke). My deal now is coming up with centerpieces.  Have you ever googled "centerpieces" - oh my gracious!  After looking at a few hundred pictures, I realized that that they are all the same.  Vase, flowers, mirrors, candles, beads, etc. I want something different (and budget friendly). Here are a few that caught my eye (and I'm sorry, but I didn't pay attention to where I found these. Most seem to be personal photographs, so I hope no one gets upset). They will need to be tweaked to fit our colors (maroon & gray), but it's a start.

Really like the painted jars...never thought to do that before.

Wrap up empty boxes with paper & tissue 

I thought these were cute...but it's probably just the fun colors...and a cookie. Who doesn't love a cookie?

I love topiaries and I've been making my own ribbon trees, so this could be cute. Especially on the food table or at the entrance 
I kinda really like this one.  It's simple, easy to do but is pretty cute too!

EHS flags? I think they would be a fun party favor. These are apparently the new things at weddings.  You wave your "yay" flag when the couple is leaving - instead of bubbles, rice, birdseed, etc.

Yes, these are straight pins...how cool is that! But very tiny!

I wish we were the red devils....somebody made a cute collage of stuff to use.  They must've had a big budget.  Love the cupcakes!

So, here I go...off to create something fabulous out of nothing. =P  Wish me luck!