
A few years ago, my sweet niece decided to hold an "art show" at her house. She had drawn or colored pictures in a wide variety of subjects for us all to view and purchase. The proceeds of this art show were donated to the Ronald McDonald House charity. Told you she was sweet. Although everything was adorable, I came home with these little crayon fish in plain white frames and they have lived on the counter in my master bathroom ever since.
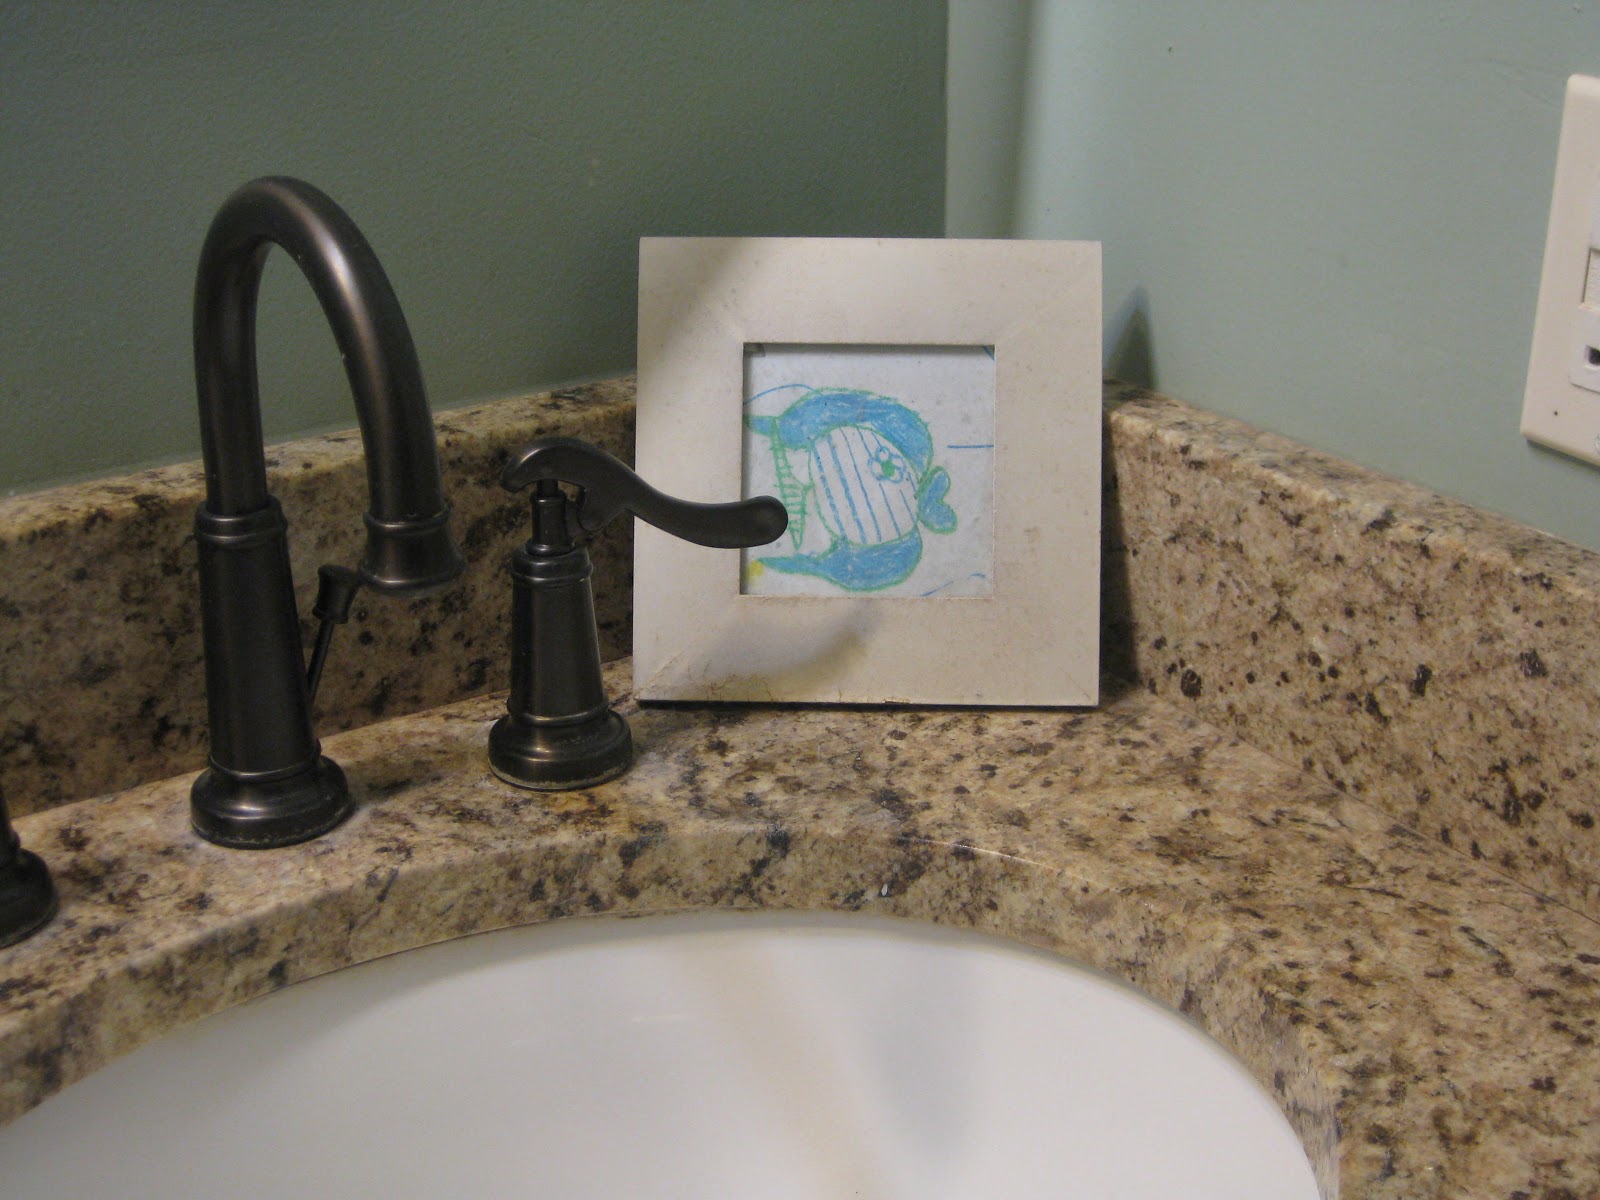

The frames were not of high quality and being next to my sink, they got splashed a little and the frames were starting to look gross. So I decided they needed a little makeover (after probably 4 years in this state).

First, I removed the art and cleaned the glass really well and set them aside. I dug out some random paint samples that I had in my laundry room closet and got to work. These are the samples I used to determine what color to paint my bathroom. The color is Sherwin Williams Quietude. I put on a few coats with a sponge brush and while they dried, I went to the hardware store to find some tile.

I ended up at Home Depot (because I had a gift card) and found the most beautiful, perfectly colored mosaic tiles! They came in a 3" by 12" sheet with a mesh backing. After a thorough search of their website, I came up empty on finding a link. Sorry! They are shades of blue, cream and brown and have curved tops (not flat like most tile). Absolutely beautiful! Anyway, I cut them apart and started playing with the best way to arrange them on the frame. The square frame was by far the easiest.


But me being me, I didn't want to be able to see the mest between the tiles (I wasn't planning to grout these). So I cut each individual tile apart - that's why you see all those little white things in the left side of that pictures. Took FOREVER! But I finally got them glued down and when it dried I put the glass and art back in. Oh, and I used regular Alene's craft glue for the tiles. Your picture frame now weighs about 3x as much as when you started.

The second frame's layout was a bit tougher because nothing was equal. I wanted the frames to look similar with the tile spacing, but just couldn't find a way to do it equally. So I just tiled the frame as if I was going to set it vertically instead of horizontal. I do plan to change out the artwork one day, so this frame will just get turned the other way. For now it works.


A simple project that only took a few hours to do. The paint and tile made the sad, white, DollarTree frames looks like they came from a department store. The tile cost about $4 a sheet and I had to purchase 2 to complete my frames. So even if you had to go out and buy some frames, you could do this for around $10 yourself. Go glue some tile! Make something pretty! =)

No comments:
Post a Comment